

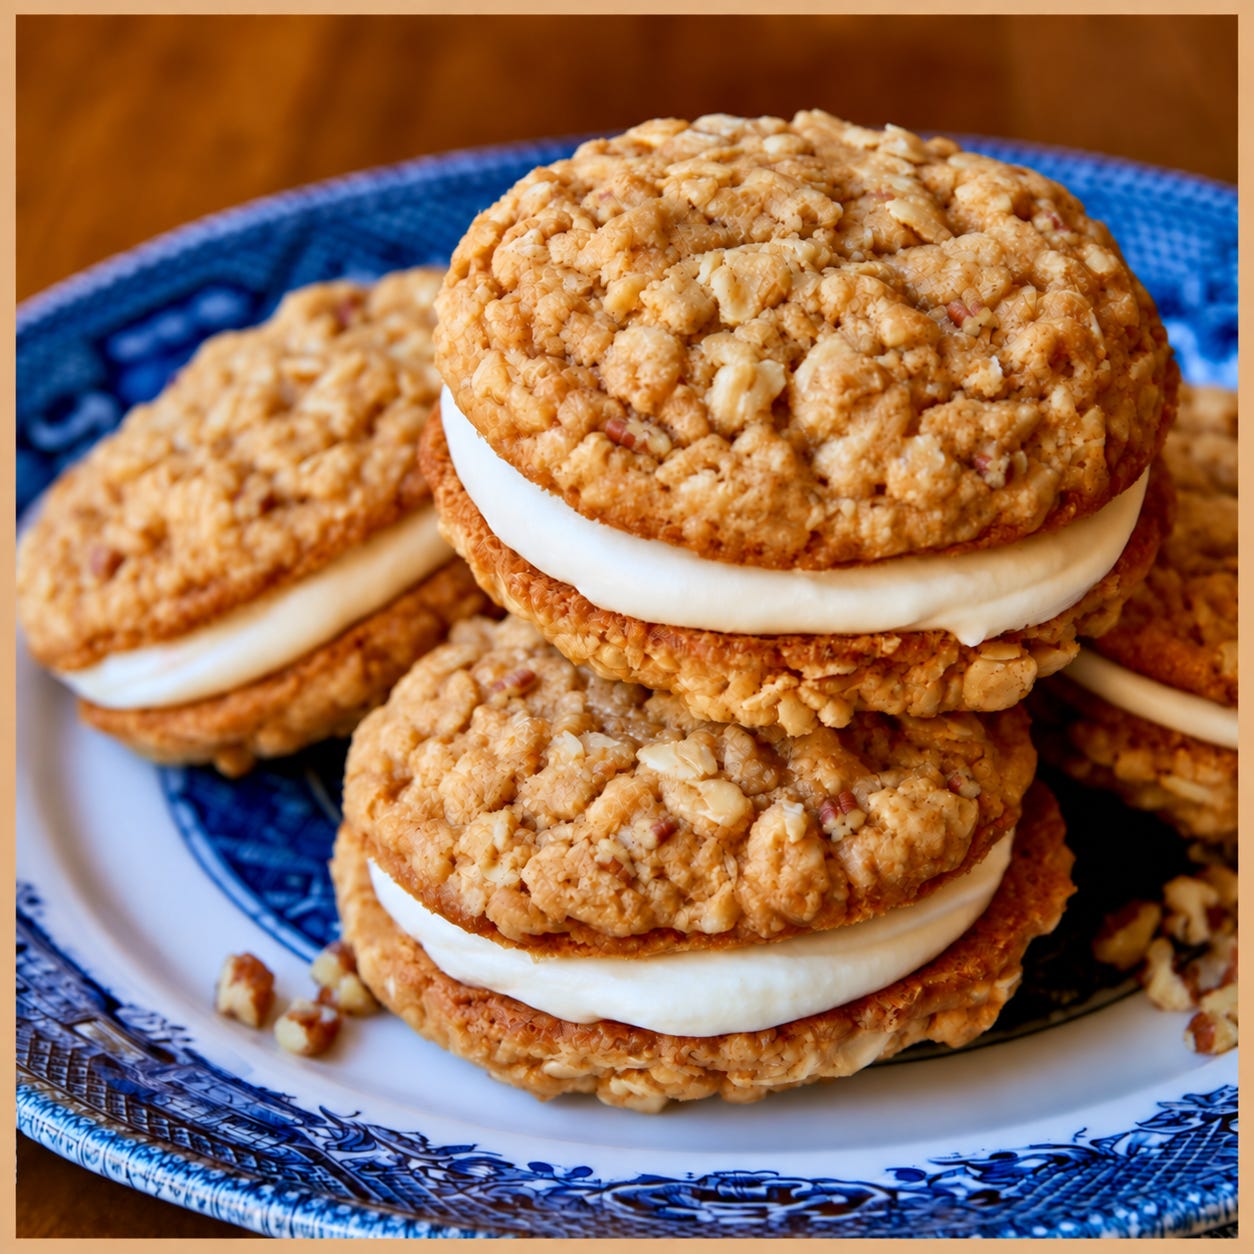
Do you ever notice that fall seems to arrive in the kitchen before it arrives anywhere else?
On Kauaʻi, we aren’t waiting for the leaves to turn brilliant shades of red or for the first frost to settle across the ground. The trade winds still drift through open windows, the afternoons are warm, and dinner is just as likely to end on the lanai as it is around the table.
But I still find myself reaching for the flavors that remind me of fall: warm cinnamon, toasted pecans, maple, vanilla, and butter slowly browning on the stove.
There’s something comforting and a little nostalgic about bringing all of those flavors together in a cookie.
For me, island cooking has never meant adding pineapple or coconut to everything. Sometimes it simply means choosing good ingredients, understanding what each one adds, and taking a little extra time when it makes a difference.
These cookies do take a few more steps than an everyday oatmeal cookie, but none of them are difficult. Once the brown butter is made and the pecans are toasted, the rest comes together easily.
Brown butter has become especially popular in cookies and brownies lately, and for good reason. If you’ve never made it before, this is an easy place to start. It’s simple to make, adds a deep, nutty flavor, and once you learn the technique, you can begin using it in some of the recipes you already love.
The brown butter is where the flavor begins.
Why Brown Butter Makes a Difference
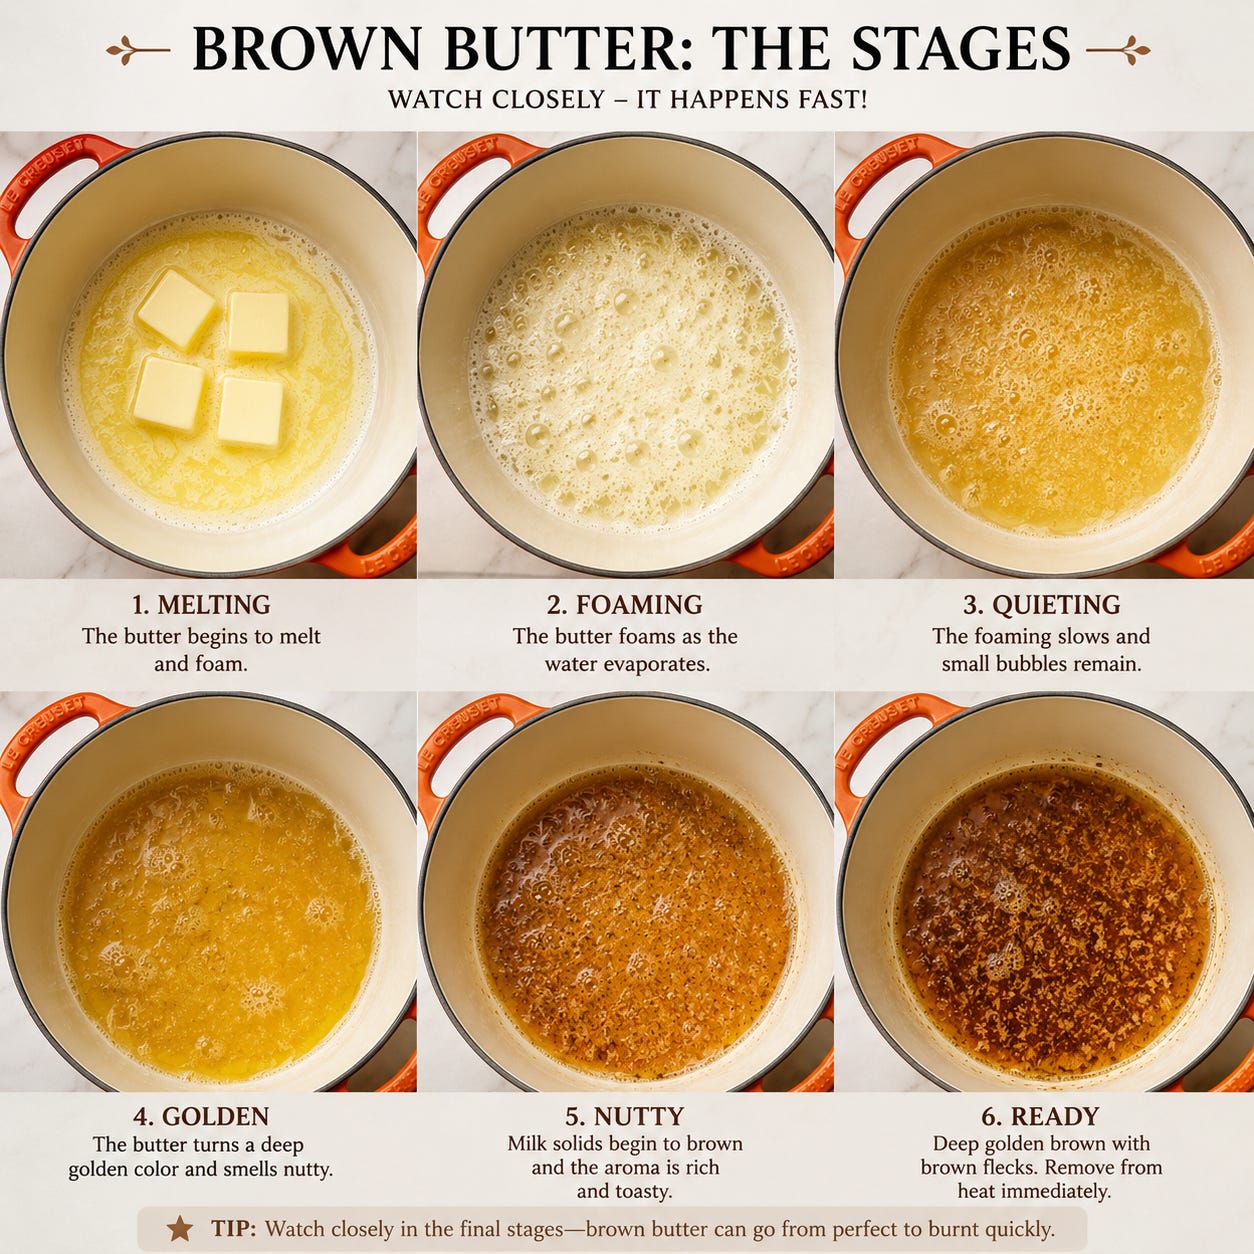
Brown butter starts with one simple process: cooking butter long enough for the water to evaporate and the milk solids to toast.
As those milk solids brown, they develop a deep, nutty flavor with almost toffee-like notes. Those little golden-brown flecks at the bottom of the pan are where so much of that flavor comes from.
The key is to watch it closely near the end. Brown butter can go from golden to burned quickly, so once it smells nutty and the flecks have turned a deep golden color, pour it out of the hot pan.
That extra step gives these cookies much more depth than melted butter alone. Once I had that warm, nutty base, the next question was how to add maple without changing the texture of the dough.
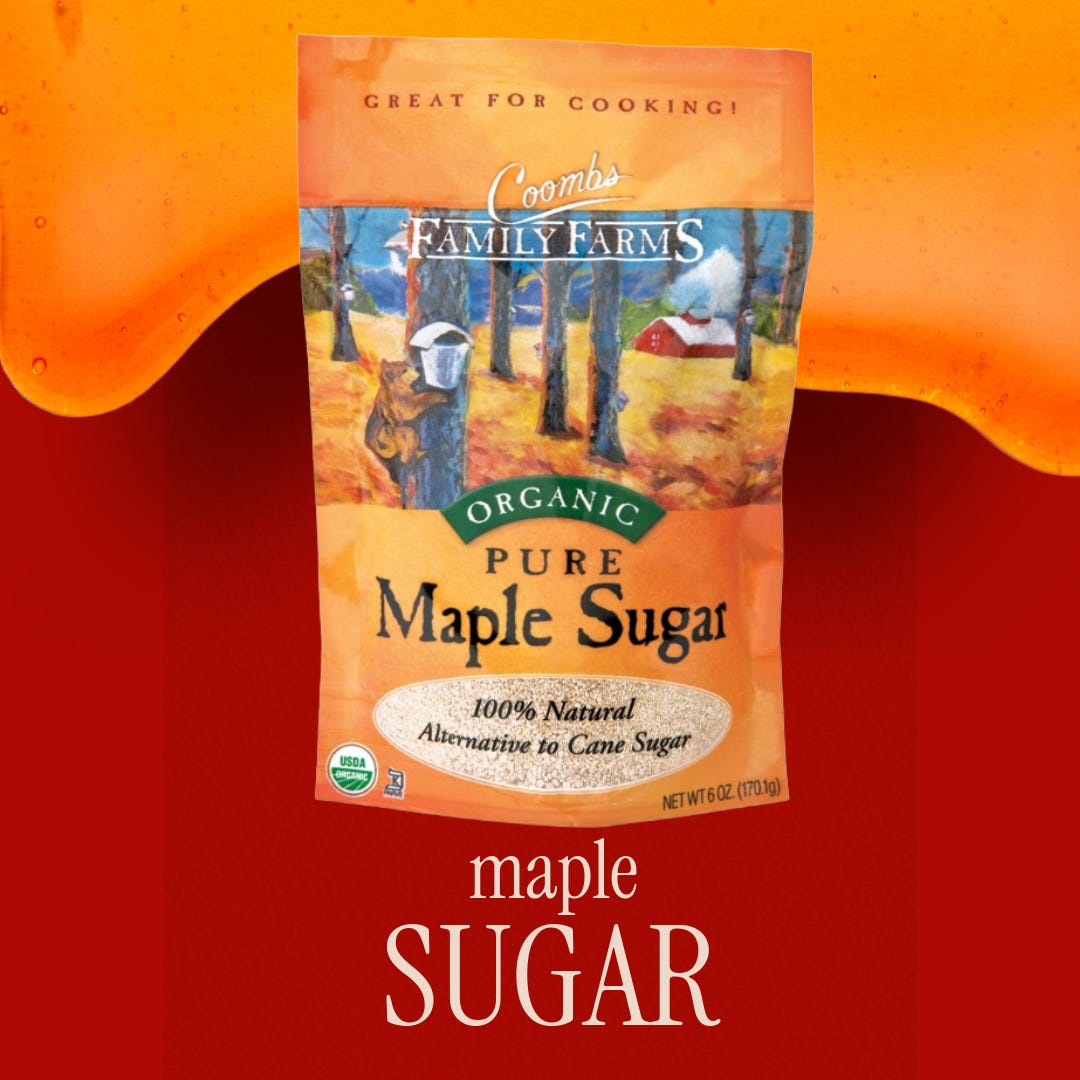
Why I Use Maple Sugar in the Cookies
Maple syrup may seem like the obvious choice for a maple cookie, but it also adds extra liquid.
I wanted a subtle maple flavor while keeping the dough thick enough to make sturdy sandwich cookies. Maple sugar gives me that subtle flavor without making the dough wetter. It blends into the dough much like granulated sugar and pairs naturally with the brown butter, oats, and cinnamon.
The maple syrup still has a place in this recipe. I save it for the buttercream, where I can control the amount of liquid more easily.
Using maple sugar in the cookies and a little maple syrup in the filling carries the flavor through the entire sandwich cookie without making it taste overly sweet.
Brown butter and maple give the cookies their warm fall flavor, and if you’re adding pecans, their toasted nuttiness brings another layer to the mix.
Choosing the Maple Syrup for the Buttercream
Since the maple syrup is going into the filling rather than the cookie dough, choosing the right kind makes a difference.
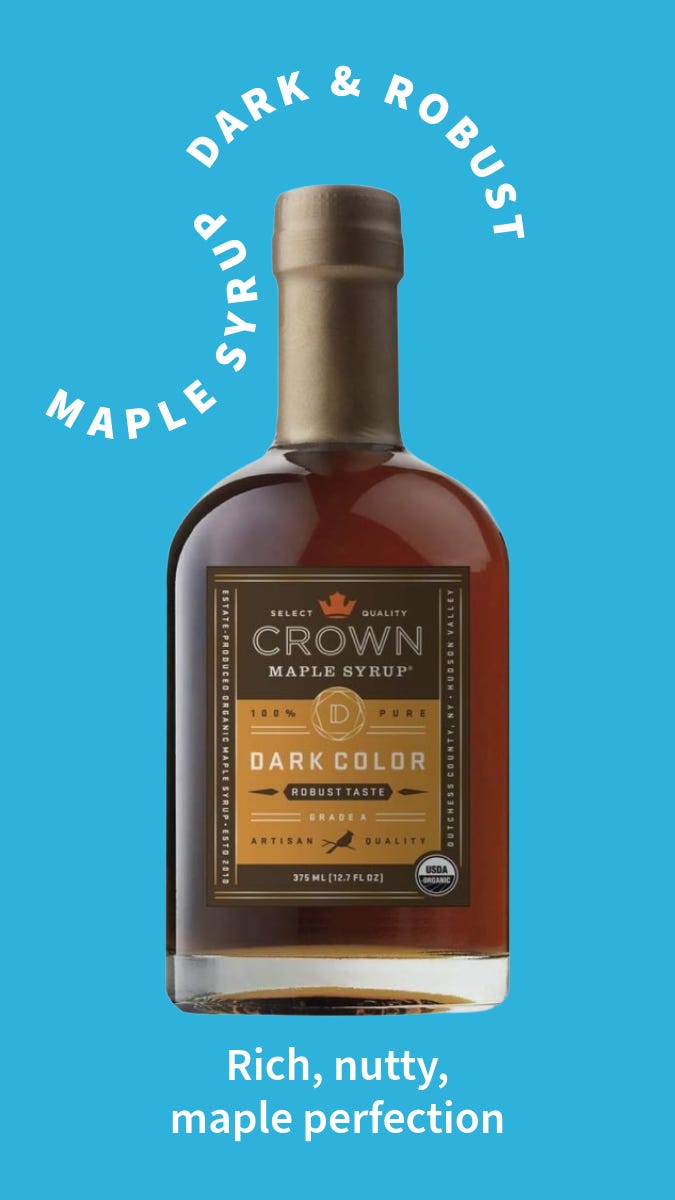
For this recipe, I use 1 tablespoon of dark, robust pure maple syrup along with a small amount of pure maple extract. The syrup gives the buttercream that unmistakable real-maple character, while the extract strengthens the flavor without adding more sugar or liquid.
I’m using Crown Maple Dark Color, Robust Taste. Its deeper maple flavor works especially well with the brown butter, toasted pecans, and cinnamon in these cookies.
If you can’t find this particular brand, look for Dark Color, Robust Taste on the bottle and make sure it is 100% pure maple syrup, rather than pancake syrup or maple-flavored syrup.
A Few Ways to Use the Rest of the Maple Syrup
It may seem a little silly to buy a bottle of pure maple syrup when this recipe only uses a tablespoon, but this is one of those ingredients that earns its place in the kitchen. A little goes a long way, and it can be used in both sweet and savory recipes.
So don’t think of the bottle as something you’re buying just for these cookies. Once you have it, there are plenty of ways to put it to work — some of them you may not have thought of before.
Stirred into oatmeal or plain Greek yogurt
Added to coffee in place of sugar
Brushed over bacon during the last few minutes of baking
Whisked into a vinaigrette with Dijon mustard and apple cider vinegar
Used to glaze roasted carrots, sweet potatoes, squash, or Brussels sprouts
Added to a glaze for salmon or pork
Used in place of simple syrup in a fall cocktail
One of the flavors that comes through in dark maple syrup is a warm, toasted nuttiness, which brings us to another small step that makes a noticeable difference in these cookies.
If You’re Using Pecans, Toast Them First
If you’re using pecans, I really do think they’re worth the extra few minutes in the oven.
Toasting brings out their nutty flavor and makes them taste fresher. Let them cool completely before chopping them so they stay crisp when they’re added to the dough.
For these sandwich cookies, I chop the pecans fairly small. The cookies are easier to bite into, and large pieces don’t get in the way when the filling is added.
The pecans are optional. I’ve made these cookies both with and without them, and they’re wonderful either way. With pecans, you get a little extra nuttiness and texture; without them, the brown butter and maple come through a bit more clearly.
With brown butter, maple, cinnamon, and toasted pecans already in the cookies, I wanted the filling to continue those flavors without becoming heavy or tasting like pure sugar.
A Light Maple Buttercream
The maple buttercream may be my favorite part of these cookies.
I use a little pure maple syrup for natural maple flavor, then add just enough maple extract to bring that flavor forward without making the buttercream overly sweet. Heavy cream keeps the filling light and fluffy, while vanilla rounds everything out.
I also add a small amount of fine sea salt. You won’t taste it as a salty buttercream; it’s there to balance the sweetness and help the maple and vanilla flavors come through more clearly. I use fine sea salt rather than coarse kosher salt so it dissolves completely into the filling.
The finished buttercream should be light and creamy but still firm enough to hold between the cookies. Once the assembled cookies are refrigerated, the filling sets and holds everything together.
Let them sit on the counter for about 20–30 minutes before serving, and the buttercream will soften and become light and creamy again.
None of the individual steps are difficult, but these cookies are much easier to make when you give yourself a little time.
Before You Begin
A little planning will make the process go much more smoothly:
Brown the butter and let it cool slightly before mixing the dough.
Toast and cool the pecans before chopping them.
Chill the dough for about 30 minutes.
Slightly flatten the dough before baking so the cookies are easier to sandwich.
Let the cookies cool before adding the buttercream.
Now that we've talked about what makes these cookies special, let's bake them.
If you enjoy learning the why behind a recipe, paid subscriptions include weekly recipes, practical culinary tips, and access to the full recipe archive.
Maple Brown Butter Oatmeal Sandwich Cookies
Soft and chewy oatmeal cookies with toasted pecans, filled with a light maple buttercream and rich brown butter in every bite.
Yield: Approximately 11 sandwich cookies
Ingredients
For the Cookies
1 cup unsalted butter
1½ cups all-purpose flour
2½ cups old-fashioned rolled oats
1 teaspoon baking soda
¾ teaspoon kosher salt
½ teaspoon ground cinnamon
¾ cup packed brown sugar
3 tablespoons maple sugar
1 large egg
1 large egg yolk
2 teaspoons vanilla extract
½ cup pecans, toasted, cooled, and finely chopped (optional)
For the Maple Buttercream
¾ cup (170 g) unsalted butter, softened
1½ cups (180 g) powdered sugar
1 Tbsp dark, robust maple syrup
¼ tsp maple extract
½ tsp vanilla
¼ tsp fine sea salt
1 Tbsp heavy cream, plus additional cream 1 tsp at a time if needed
Step 1: Toast the Pecans
Preheat the oven to 325°F.
Spread the pecans on a baking sheet and toast at 325°F for 7–9 minutes, or until they smell warm and nutty. If you plan to coat the edges of the sandwich cookies, toast a few additional pecans at the same time.
Let the pecans cool completely, then chop them finely. While they’re cooling, you can begin browning the butter.
Step 2: Brown the Butter
Place the butter in a light-colored saucepan over medium heat.
Let it melt, then continue cooking as it foams and bubbles. Stir often, making sure to scrape across the bottom of the pan.
After about 7–10 minutes, you should see little golden-brown flecks forming at the bottom, and the butter will begin to smell nutty. Watch it closely at this point so it doesn’t burn.
Immediately pour the brown butter, including all of those toasted brown bits, into a large mixing bowl. Let it cool for 20–30 minutes, until it is warm but no longer hot.
While the butter cools, you can mix the dry ingredients.
Step 3: Mix the Dry Ingredients
In a separate bowl, whisk together the flour, oats, baking soda, kosher salt, and cinnamon. Set aside.
Step 4: Make the Dough
Add the brown sugar and maple sugar to the cooled brown butter. Beat for about 2 minutes, until glossy and well combined.
Add the egg and egg yolk and mix well. Add the vanilla and mix again.
Add the dry ingredients and mix just until no dry streaks remain. Don’t overmix once the flour and oats go in. Overmixing can make oatmeal cookies feel heavier. Gently fold in the finely chopped toasted pecans.
At this point, the dough needs time to firm up before you shape it.
Step 5: Chill the Dough
Cover the bowl and refrigerate the dough for 30 minutes.
The dough should be firm enough to scoop but not rock hard. If it becomes too firm, let it sit on the counter for a few minutes before shaping the cookies.
Step 6: Scoop and Flatten
Preheat the oven to 350°F for a standard oven or 325°F for convection. Line baking sheets with parchment paper.
Scoop the dough into 2-tablespoon portions, about 38 grams each, and roll each portion into a smooth ball. Arrange them a few inches apart on the prepared baking sheets.
Place a small square of parchment over each dough ball and gently press with the bottom of a glass until the cookies are about ½ inch thick. This dough does not spread dramatically on its own, so flattening the cookies before baking helps them bake into evenly sized rounds that are perfect for sandwiching.
Step 7: Bake
Culinary Tip: I always keep an oven thermometer hanging inside my oven. Even new ovens can run hotter or cooler than the temperature on the display, and they can cycle differently as they heat and retain temperature. Learning how your own oven behaves is one of the simplest ways to become a more consistent baker. An inexpensive oven thermometer lets you know the actual temperature before your cookies go in.
Bake for 8–10 minutes, checking the cookies at the 8-minute mark. The edges should be lightly golden, while the centers may still look slightly soft.
I recommend baking one test cookie first. It will show you how much the dough spreads and whether your oven needs a little more or less baking time.
Don’t overbake. Pull them when the edges are set but the centers still look a little soft. That keeps the middle tender instead of dense.
As soon as the cookies come out of the oven, place a round cookie cutter or a glass slightly larger than the cookie over each one and gently swirl it in a circular motion. This simple trick creates perfectly round, uniform cookies that are ideal for sandwiching together.
Let the cookies cool on the baking sheet for 5 minutes, then transfer them to a wire rack to cool completely.
For the easiest assembly, refrigerate the cooled cookies for 15-20 minutes before filling. Chilling is optional, but firmer cookies are less likely to crack and are easier to press together.
While the cookies chill, prepare the maple buttercream.
Step 8: Make the Maple Buttercream
Beat the softened butter for 2–3 minutes until very light and creamy. I use the paddle attachment on my KitchenAid mixer, which gives the buttercream a light, smooth consistency.
Gradually add the powdered sugar and beat until completely smooth.
Add the maple syrup, maple extract, vanilla, salt, and 1 tablespoon of heavy cream. Beat for 3–4 minutes, until light and fluffy.
Taste before adding anything else. If you want a stronger maple flavor, add additional maple extract ⅛ teaspoon at a time.
If the buttercream is too firm, add additional heavy cream 1 teaspoon at a time. The filling should be creamy and light but still firm enough to hold its shape between the cookies.
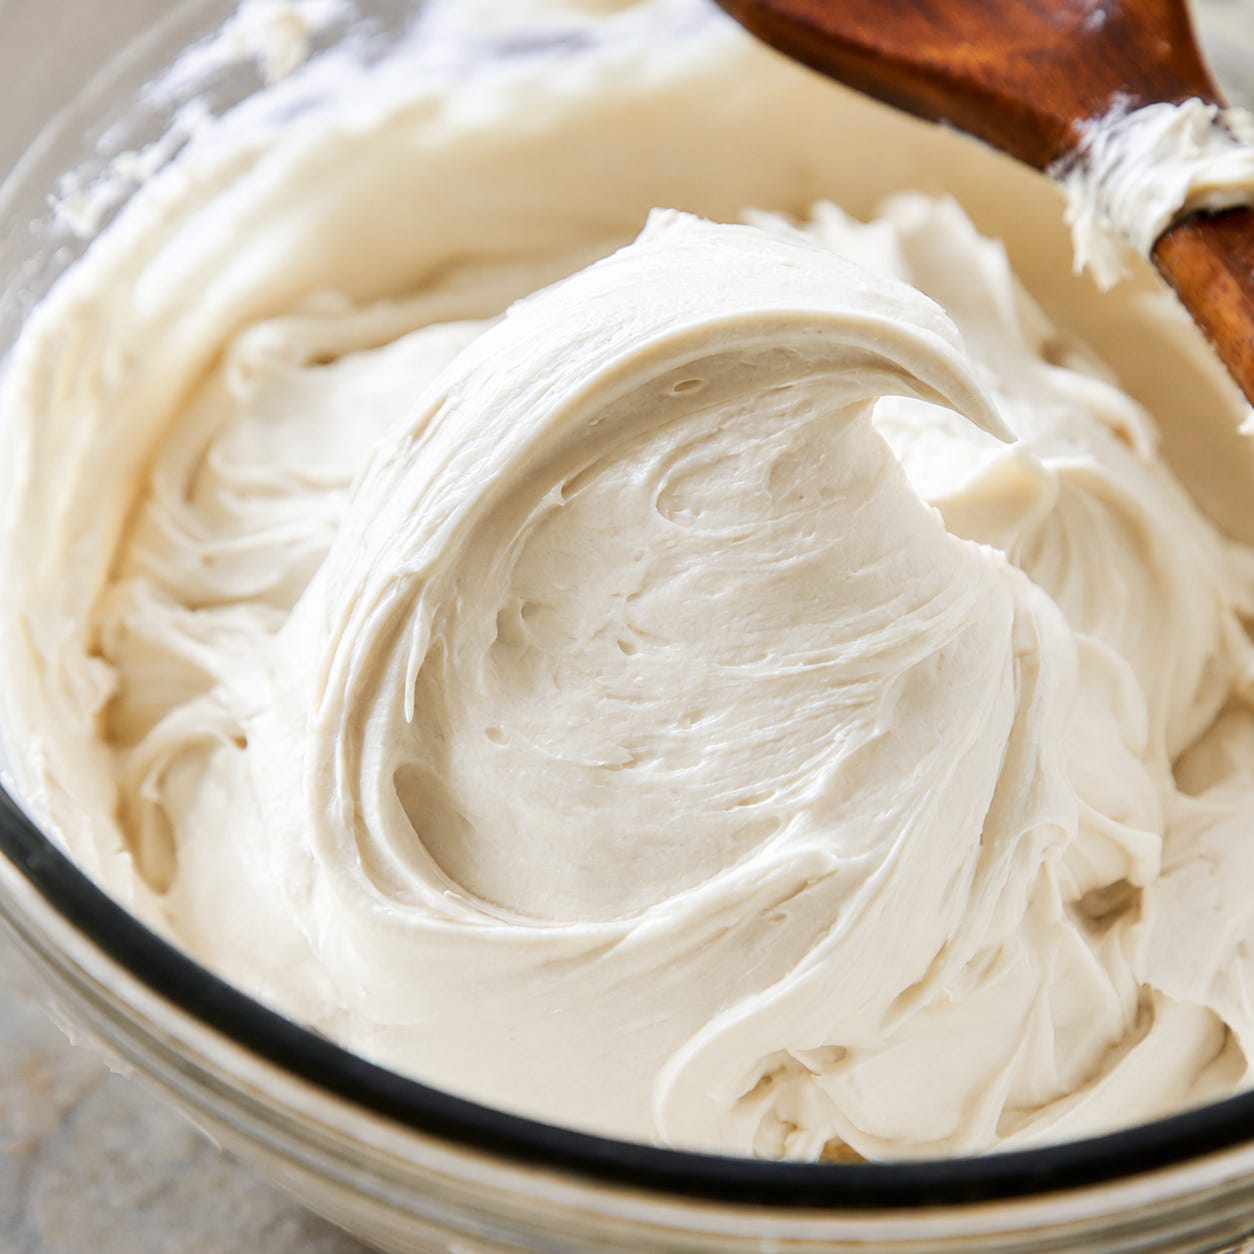
Step 9: Assemble the Cookies
Pipe or spread the buttercream over the flat side of one cookie, leaving a small border around the edge.
I like to use a piping bag fitted with a large round tip, but a zip-top bag with one corner snipped off works perfectly fine too.
Place a second cookie on top and press gently until the filling spreads close to the edges.
Once assembled, refrigerate the cookies so the filling has time to firm up.
Storage
Store the assembled cookies in an airtight container in the refrigerator for up to five days.
For the best texture, take them out of the refrigerator about 20–30 minutes before serving. The buttercream will soften, and the cookies will become tender and chewy again.
A Few Final Thoughts
These cookies look impressive, but each step is simple. They’re a wonderful way to welcome the beginning of fall and enjoy all the warm maple, cinnamon, and brown butter flavors that come with it.
Your house will smell amazing while they bake, and once you set them out, be ready…someone is going to ask you for the recipe.
Happy fall baking!
Nicole
The Island Spirit Kitchen